Measure your mate cube: a size and dilution worksheet
A practical way to measure one tray cavity, record cube count and added water, and repeat a frozen yerba mate drink without assuming a standard cube size.
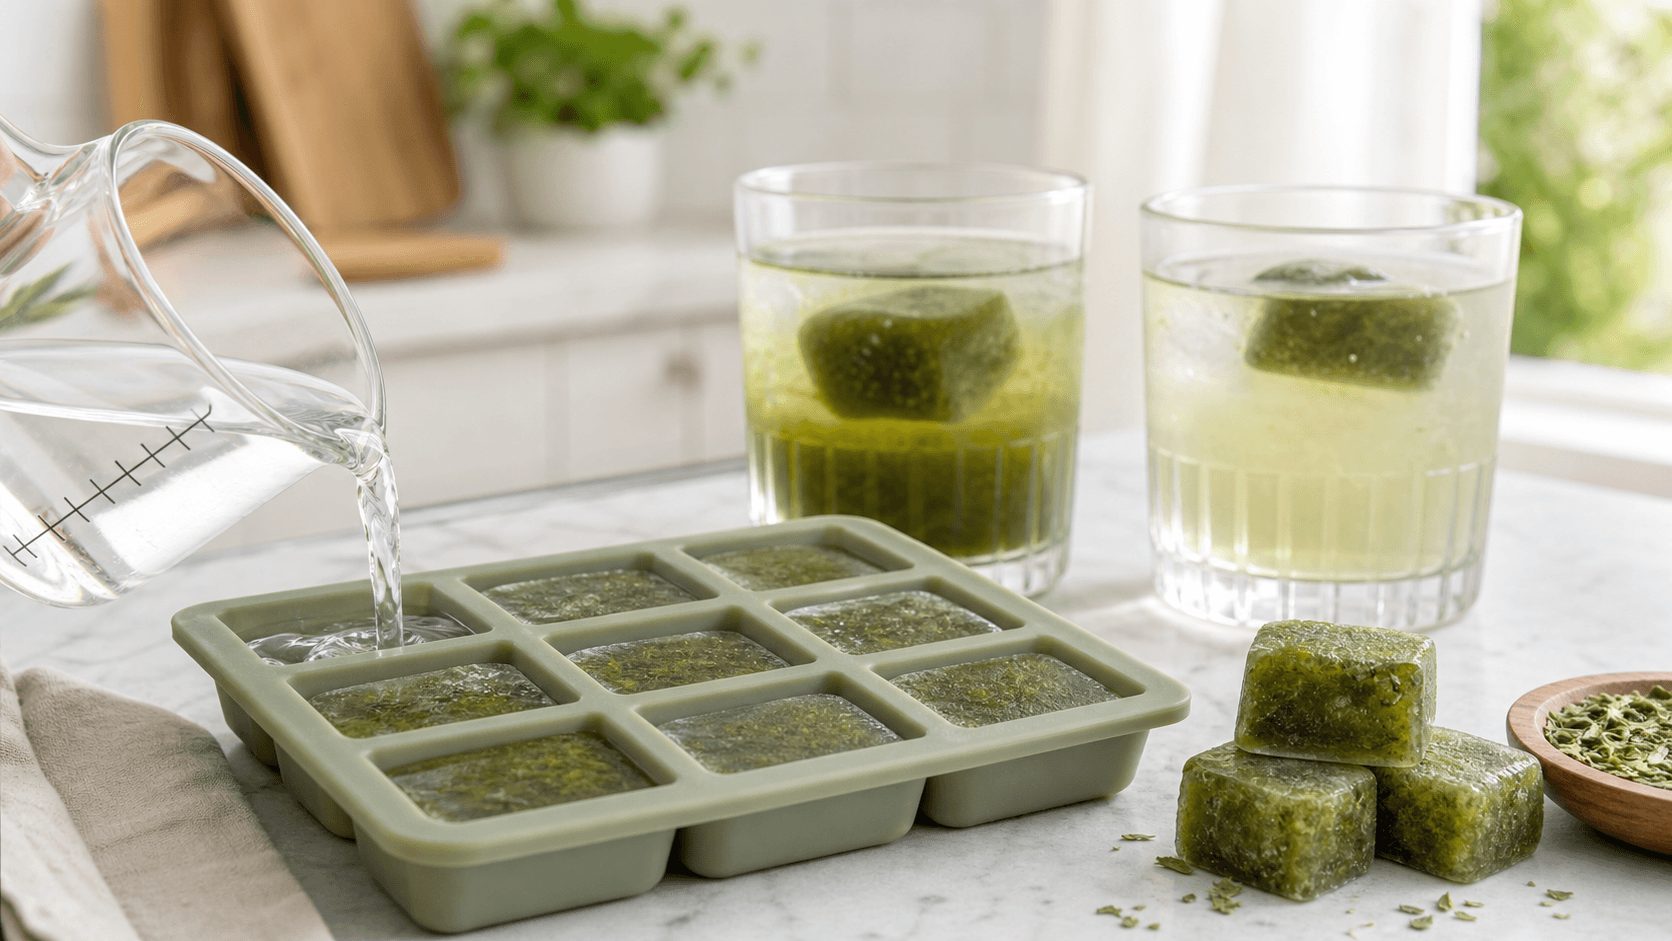
An ice tray does not come with one universal cube size. A small, shallow cavity and a deep square cavity can produce very different portions, even when both are casually called “one cube.”
That matters when you are trying to repeat a frozen yerba mate drink. The useful first step is not guessing a ratio. It is measuring one cavity in the tray you actually use, then keeping the cube count and added water as separate notes.
This worksheet measures volume and taste only. It does not turn a homemade cube into a standard serving or reveal its caffeine content.
Measure one tray cavity with plain water
Use water rather than brewed mate for this check so a spill does not waste a batch.
1. Set the clean, empty tray on a level counter.
2. Fill a liquid measuring cup with a known amount of water.
3. Pour water into one cavity to the level you normally fill it. Do not overfill the rim.
4. Read the amount left in the measuring cup at eye level.
5. Subtract the amount left from the starting amount. The difference is the measured cavity volume.
6. Empty and dry the tray, then repeat the check on two or three cavities if their shapes or fill levels vary.
If your measuring cup is too coarse to show the difference clearly, fill several cavities from the same measured amount, then divide the water used by the number of cavities. Record that result as an estimate, because small pouring and reading differences add up.
Convert only the measurement you observed
NIST publishes approximate household volume conversions. Its conversion card lists 1 tablespoon as approximately 14.79 milliliters and 1 U.S. fluid ounce as approximately 29.57 milliliters. The NIST Metric Kitchen rounds those kitchen equivalents to 15 milliliters per tablespoon and 30 milliliters per fluid ounce.
| If your measured cavity is recorded in | Convert it this way | Keep in mind |
|---|---|---|
| Tablespoons | Multiply by 14.79 for approximate milliliters | A kitchen-friendly note can round 1 tablespoon to about 15 milliliters. |
| U.S. fluid ounces | Multiply by 29.57 for approximate milliliters | A kitchen-friendly note can round 1 fluid ounce to about 30 milliliters. |
| Milliliters | Divide by 14.79 for approximate tablespoons | Keep the original milliliter measurement in your batch note. |
| Milliliters | Divide by 29.57 for approximate U.S. fluid ounces | Do not add precision your measuring cup could not show. |
These conversions translate a measurement; they do not establish a standard ice-cube capacity. A tray package may state a nominal capacity, but measuring the fill level you actually use gives you the more relevant home note.
Start a blank tray card
Keep the card with your freezer labels or batch notes.
| Tray detail | Your note |
|---|---|
| Tray description or identifier | |
| Cavities measured | |
| Starting water volume | |
| Water left after filling | |
| Total water used | |
| Estimated volume per cavity | |
| Unit used | |
| Fill level note | |
| Date measured |
The tray description can be simple: “green six-cavity tray” is more useful than a precise-looking number attached to the wrong tray.
Record the finished glass separately
The cavity measurement tells you how much frozen liquid fits in that tray. It does not tell you how much water will taste right with a particular batch.
Use a second card for the glass:
| Finished-glass field | Your note |
|---|---|
| Batch name or freeze date | |
| Measured cavity volume | |
| Number of cubes | |
| Added water volume | |
| Water temperature: cold, room temperature, or warm | |
| Stir or melt note | |
| Taste: concentrated, balanced, or light | |
| Bitterness or aroma note | |
| What to change next time |
For the first glass, choose a cube count that fits the vessel, add a measured amount of water, stir as the cubes soften, and taste. If it feels concentrated, add water in measured steps and record the final total. That result belongs to this batch and this tray, not every frozen mate cube.
The plain-water tasting flight is useful if you want to compare several water levels side by side. The tray and container guide can help you choose equipment by repeatability and freezer fit.
What cube size cannot tell you
Yerba mate contains caffeine, but volume alone does not reveal caffeine milligrams. A larger cube may hold more liquid than a smaller cube, yet the caffeine in that liquid still depends on the leaves, leaf amount, water, brewing conditions, finished batch volume, and how evenly the batch was mixed before freezing.
Do not use this worksheet to:
- assign caffeine milligrams to a homemade cube
- call one measured cavity a recommended serving
- copy a caffeine number from a different drink or package
- infer caffeine from cube color, bitterness, or size
- claim that one cube-to-water ratio works for every batch
Adding water changes the concentration and taste of the finished glass. It does not remove caffeine that was already in the cubes.
A useful direction starts with defined inputs
“Use two cubes” is incomplete if nobody knows the cube size. “Add water to taste” is flexible but hard to repeat. A more useful home note identifies the tray, measured cavity volume, cube count, and added water, then leaves room for a taste adjustment.
That is also the standard Yerba Melt would need to meet: a defined portion with clear preparation directions and tested caffeine disclosure once the final formula exists. Until then, this worksheet keeps a homemade test honest and repeatable without pretending the tray can answer questions it cannot.
For the full freezer-to-glass routine, see the make-ahead mate cube guide and the frozen yerba mate explainer. Then join the waitlist and tell us whether you would rather see one default water amount or a small adjustment range on the package.