A plain-water yerba mate cube tasting flight
A controlled three-glass tasting worksheet for learning how water changes one batch of frozen yerba mate cubes without guessing at caffeine or declaring a universal ratio.
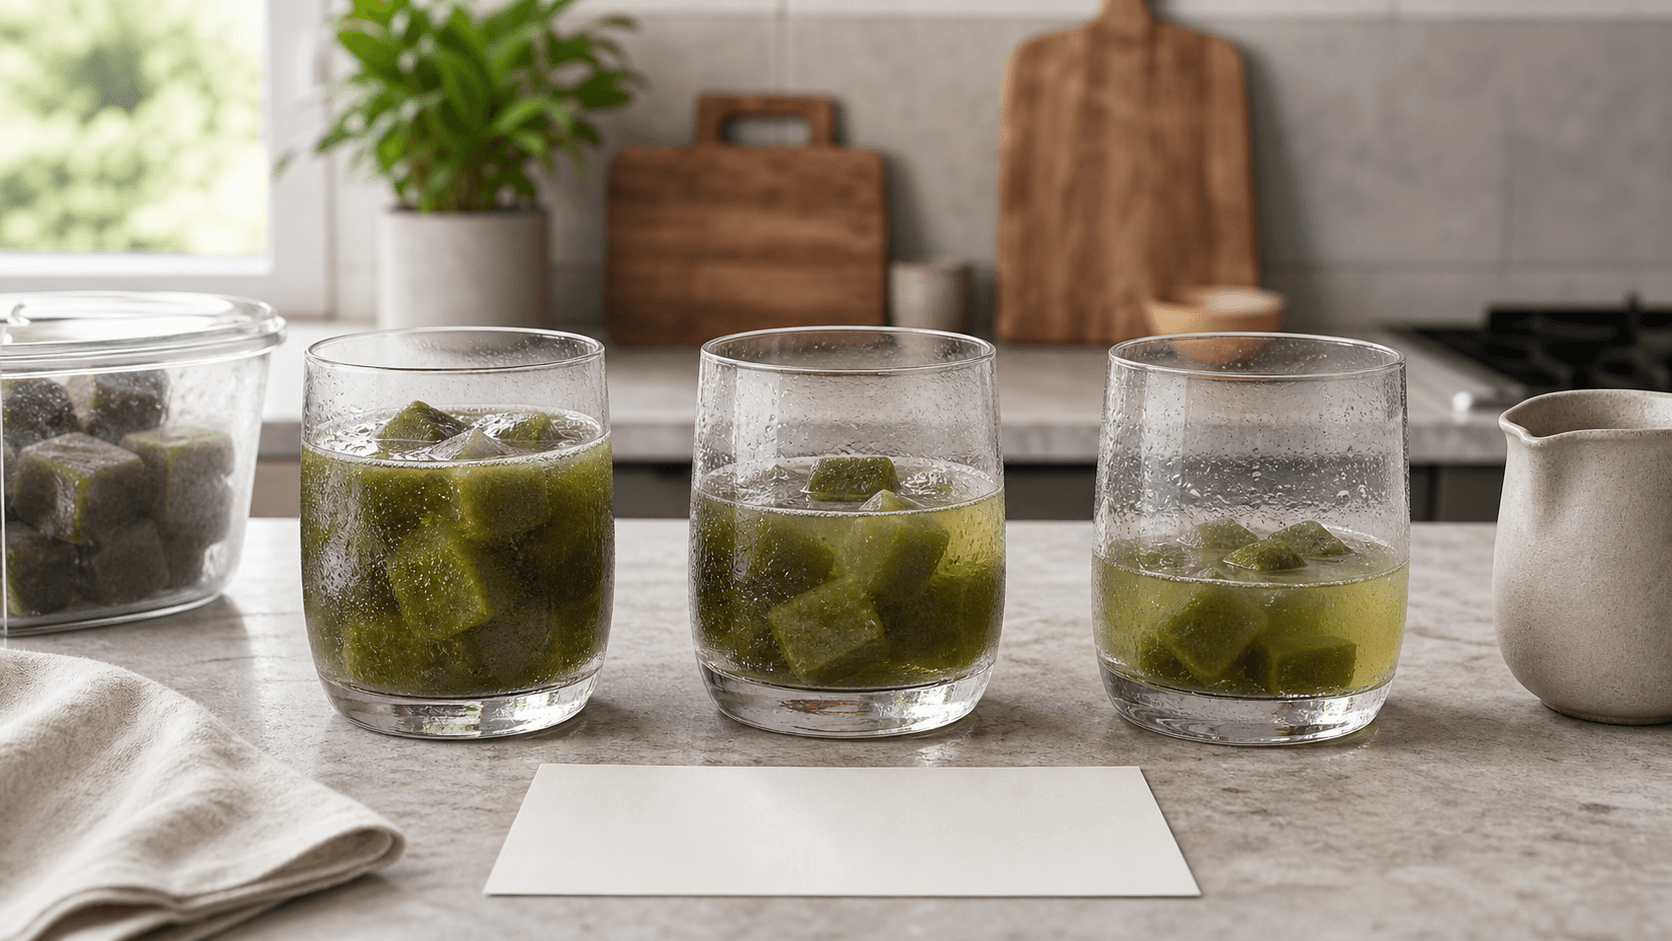
A plain-water yerba mate cube tasting flight is a simple way to learn what one freezer batch does in the glass. Use cubes from the same batch, keep the cube count consistent, and change only the amount of water.
This is a sensory exercise, not a caffeine test. Color, bitterness, aroma, and dilution can help you choose a glass you prefer, but none of them reveals caffeine milligrams.
Why taste the same batch three ways?
Changing every ingredient at once makes the result hard to read. If one glass has more cubes, another has citrus, and the third has sparkling water, you cannot tell which change mattered.
Kansas State University separates sensory work into two broad categories. Affective tests ask about acceptability or preference with a larger group that represents a population. Analytical tests ask whether products differ and how. A one-person kitchen worksheet is neither a consumer study nor a formal analytical test. Its narrower job is to keep the setup visible and capture personal observations from one batch.
For frozen mate cubes, that means:
- one identified cube batch
- three identical glasses
- the same cube count in each glass
- the same water source and temperature
- one measured water difference between glasses
- the same tasting notes for every sample
Set up a three-glass flight
Choose a cube count that fits your glass and your usual home batch. Measure the water with the same vessel each time. NIST lists household volume equivalents as approximate—for example, 30 milliliters for 1 fluid ounce and 240 milliliters for 1 cup—so keep the unit and the precision your measuring tool can actually support.
| Keep consistent | Change once |
|---|---|
| Cube batch and cube size | Water volume measured before adding |
| Cube count per glass | Nothing else |
| Glass shape and size | |
| Water source and temperature | |
| Rest and stirring method |
There is no default set of water volumes in this worksheet. Pick three measured amounts that fit your actual glass, tray, and batch, then write them down before tasting. If you do not have enough cubes for three comparable glasses, use the single-glass method below.
Keep three water measurements separate
The water you pour in and the drink you later measure are different entries. Use these names consistently so a note taken while cubes remain does not become a finished-drink measurement.
| Field | When to record it | What it describes |
|---|---|---|
| Added water | Measure before pouring onto the cubes | The water input you deliberately vary between glasses |
| Level with cubes remaining | At a recorded observation time, if useful | A visible level in that vessel with solid cubes still present; leave blank if there are no usable markings |
| Fully melted liquid volume | Only after no solid cubes remain, before tasting or removing liquid | The liquid drink measured with a suitable fluid measuring vessel; record the time separately |
NIST's culinary measurement guidance recommends a fluid measuring cup for liquids, placed on a level surface with the liquid surface read at eye level. Use the same tool and unit across the flight. An unmarked drinking glass can show a relative level, but it does not supply a measured volume.
These three fields are our worksheet convention. NIST provides general measuring technique; it has not tested this mate-cube flight. Do not calculate a finished volume from cube count or a partly melted reading. If you taste before all cubes melt, leave the fully melted volume blank, or label a later measurement as liquid remaining after tasting.
Run the tasting
1. Give the batch, tray, and three identical glasses simple identifiers.
2. Add the same number of cubes from that batch to each glass.
3. Record the water source and temperature, then measure and record a different added-water volume before pouring it into each glass.
4. Start the timer when water meets the cubes in each glass. At each observation, record elapsed time and whether cubes remain. Any level noted with cubes present belongs in the separate level field.
5. Stir every glass in the same way, then record appearance and aroma. If measuring fully melted liquid volume, do so once no cubes remain and before tasting; record that measurement time.
6. Taste in a written order, using the same observation words for every glass.
7. Record what you would repeat or change as a personal batch note, not a serving rule.
The order is part of the note, not a scientific guarantee. If the first glass seems to influence the next one, repeat the flight another day in a different order.
Use a blank tasting card
Keep the words descriptive. “More bitter,” “lighter aroma,” and “would repeat” are more useful than borrowing a caffeine or wellness story.
| Setup or observation | Glass A | Glass B | Glass C |
|---|---|---|---|
| Batch and tray identifier | |||
| Cube count | |||
| Added water volume and unit | |||
| Water source and temperature | |||
| Glass identifier | |||
| Observation time | |||
| Cubes remaining? | |||
| Level with cubes remaining, if readable | |||
| Fully melted liquid volume and unit, before tasting | |||
| Time of fully melted measurement | |||
| Appearance | |||
| Aroma | |||
| Bitterness | |||
| Perceived mate strength | |||
| Finish or aftertaste | |||
| Would make again? | |||
| Next adjustment |
There is no need to turn every sensory line into a number. A short phrase can be easier to use when you make the next glass. Keep measured fields separate from personal observations so “perceived strength” is never mistaken for caffeine content or laboratory concentration.
What the flight can tell you
The flight can document how one person experiences one identified batch at three water levels. It can help answer questions such as:
- Does more water make the bitterness feel less prominent?
- At what point does the mate aroma become hard to notice?
- Which glass tastes concentrated, balanced, or too diluted to you?
- Would you repeat the same water amount with this batch?
Those are personal preparation observations. They do not establish consumer preference, a universal cube-to-water ratio, product formula, shelf life, or physiological outcome.
If bitterness is the main issue, compare your notes with the guide to making yerba mate less bitter. That article offers other taste adjustments, but add citrus, mint, sweetness, or milk only after this plain-water test if you want to preserve the one-variable comparison.
What the flight cannot tell you about caffeine
Yerba mate contains caffeine, but a darker or more bitter glass is not a caffeine measurement. Adding water changes concentration in the glass; it does not tell you how much caffeine was extracted into the original brew or frozen into each cube.
The FDA notes that caffeine amounts vary among specific products and container sizes. A homemade mate batch adds more unknowns: leaf amount, brewing conditions, finished batch volume, tray size, and cube count.
Do not use this flight to:
- assign caffeine milligrams to a cube
- rank the glasses by caffeine
- infer caffeine from color, bitterness, or aroma
- copy a number from another yerba mate product
- promise a stronger or gentler effect
A finished Yerba Melt product should disclose tested caffeine per cube and per prepared serving once the formula is final. Until then, the honest home note is simply that the drink contains caffeine and the amount in a homemade cube is unknown.
A lower-waste single-glass version
If you have only a few cubes, build one glass in measured stages.
1. Add a consistent cube count and a small measured amount of water.
2. Let the cubes soften, stir, and record the first taste.
3. Add another measured amount of water.
4. Stir and record what changed.
5. Repeat once if the glass still tastes concentrated.
Write down cumulative added water, elapsed time, whether cubes remain, and any liquid removed by tasting after each stage. This staged method changes with time as well as water additions, so use it as a personal preparation log. A later reading after sipping is remaining liquid, not the original fully melted serving volume.
Keep the result with the batch
Record the batch name or freeze date alongside the tasting card. A preferred water amount for one strong home batch may not work for a lighter batch made with different leaves or a different tray.
The freezer-door inventory can tell you which batch is available. The tasting card tells you what happened when you used it. For more serving directions beyond plain water, see 15 ways to use frozen yerba mate cubes.
The broader frozen yerba mate explainer shows the product idea behind these home tests: a defined portion that is easier to finish hot or cold. Would you want one clear default ratio, or room to adjust every glass? Join the waitlist and tell us what useful serving directions should look like.
Sources
- https://www.nist.gov/pml/owm/metric-si/metric-kitchen/metric-kitchen-culinary-measurement-tips
- https://www.nist.gov/pml/owm/metric-si/metric-kitchen/metric-kitchen-cooking-measurement-equivalencies
- https://extension.k-state.edu/kvafl/resources/technical-assistance/sensory.html
- https://www.fda.gov/consumers/consumer-updates/spilling-beans-how-much-caffeine-too-much