Mate cube batch yield: a measured tray worksheet
Measure brewed liquid, tray capacity, filled cavities, and leftover mate so a frozen yerba mate batch is easier to plan without assuming a standard cube size.
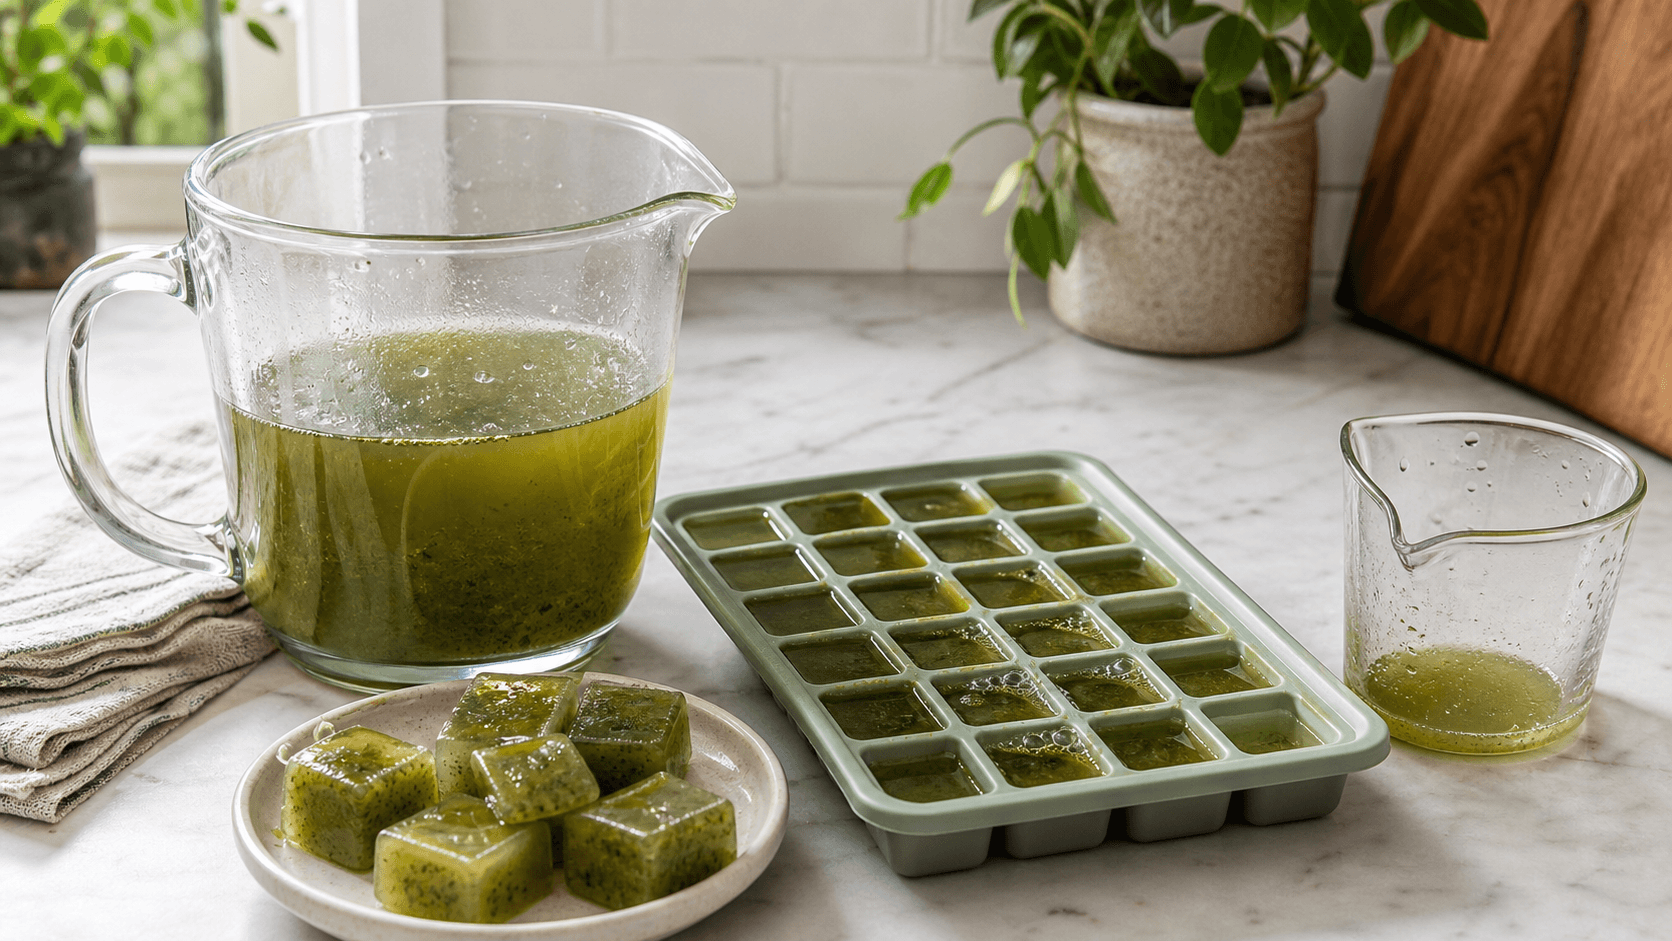
A tray with 12 cavities does not automatically make 12 cubes from every batch. The result depends on the amount of brewed liquid, the capacity of the exact tray, the fill level you use, and what remains after pouring.
This worksheet keeps two ideas separate:
- Planned yield is an estimate based on measurements.
- Observed yield is what you actually filled, plus any leftover liquid.
That distinction makes the next batch easier to plan without pretending every tray cavity is the same size.
Measure before you divide
Start with the brewed batch and tray you will actually use. If you have not measured a cavity yet, use the mate cube size worksheet with plain water first.
For the batch-yield note, record:
| Measurement | Your note |
|---|---|
| Total brewed liquid before pouring | |
| Tray name or description | |
| Number of tray cavities | |
| Measured volume per cavity | |
| Intended fill level | |
| Unit used: milliliters, tablespoons, or fluid ounces |
Use the same fill level you measured. A cavity filled to the rim and one filled below the rim are not the same input, even when they belong to the same tray.
Check tray capacity with water and a scale
If the tray does not list a useful cavity volume, you can make an approximate capacity check with plain water before committing a brewed batch.
NIST's cookware guidance describes a simple method for estimating a container's volume: put the empty container on a digital kitchen scale, tare the scale to zero, fill it with water, and use water's approximate relationship of 1 gram to 1 milliliter. For a cube tray, apply that idea to the exact fill level you intend to repeat rather than assuming the rim is the working fill line.
Use a stable, level surface and keep the tray supported while you measure. Flexible trays can change shape when lifted, so record the support you used along with the tray identity. This is an approximate household check, not a calibrated volume test.
| Water check | Blank record |
|---|---|
| Tray name or identifying detail | |
| Scale and unit | |
| Tray support used | |
| Empty tray placed and scale tared? | |
| Number of cavities filled | |
| Fill line used | |
| Water mass in grams | |
| Approximate filled volume in milliliters | |
| Approximate volume per filled cavity | |
| Observation date |
Keep the water mass as the direct reading and label the milliliter result as approximate. Do not use this card to assign a serving size or caffeine amount.
Estimate the planned cavity count
Divide the measured batch volume by the measured cavity volume:
estimated cavity count = measured batch volume ÷ measured cavity volume
Keep both measurements in the same unit before dividing. If the batch is recorded in fluid ounces and the cavity in milliliters, convert one of them first.
NIST lists approximate household volume conversions including 1 tablespoon as 14.79 milliliters and 1 U.S. fluid ounce as 29.57 milliliters.
| If you recorded | Conversion for planning | Practical note |
|---|---|---|
| Tablespoons | Multiply by 14.79 for approximate milliliters | Keep the original measurement too. |
| U.S. fluid ounces | Multiply by 29.57 for approximate milliliters | Do not add more precision than the vessel can show. |
For example, if your measured batch divided by your measured cavity volume gives 10.6, plan for 10 full cavities and some liquid left over. Do not round up and assume an eleventh full cavity.
Record what happened at the tray
The arithmetic is a plan, not the final result. Pouring loss, foam, fine particles, an uneven counter, flexible tray walls, and small reading differences can move the observed yield away from the estimate.
Fill in the actual result after pouring:
| Observed batch field | Your note |
|---|---|
| Estimated full cavities | |
| Cavities actually filled | |
| Partially filled cavities | |
| Leftover liquid volume | |
| Spill or transfer note | |
| Tray moved level to freezer? | |
| Batch date and identifier |
Keep planned and observed results on one card
The most useful record is the one you can compare after pouring. Copy the direct readings instead of replacing them with cleaner-looking calculated values.
| Batch field | Planned | Observed |
|---|---|---|
| Batch identifier and date | ||
| Exact tray and fill line | ||
| Liquid available before pouring | ||
| Approximate cavity volume | ||
| Full cavities | ||
| Partial cavity amount | ||
| Liquid left after pouring | ||
| Spill, foam, or transfer note | ||
| Measurement source: scale or vessel |
Leave an unknown cell blank. The goal is to preserve what you measured, what you calculated, and what actually happened without forcing the three to agree.
If the last cavity is partial, record it as partial rather than silently counting it as a full cube. You can freeze it for a taste test, but it should not become the baseline for the next batch.
The tray and container guide can help if a flexible or awkward tray makes repeatable filling difficult. Once frozen, add the result to your freezer batch label so the measurement stays connected to the right cubes.
Use planned-versus-observed yield to improve the next batch
After one run, compare the two numbers instead of forcing them to match.
| What you observe | What to check next time |
|---|---|
| Fewer full cavities than estimated | Recheck the cavity fill level, batch reading, spills, and partial cavity. |
| More full cavities than estimated | Confirm that the measured cavity and the filled cavities used the same level. |
| A large leftover amount | Measure the leftover liquid and decide whether to use a second tray or make a smaller batch. |
| Yield changes between batches | Keep the tray fixed and record the brewed volume each time. |
The useful outcome is not a perfect formula. It is a short record that explains how much liquid went in, where it went, and what remained.
What batch yield does not tell you
This worksheet measures volume and cavity count. It does not establish:
- a recommended serving size
- a universal cube size
- a storage-life or food-safety promise
- caffeine milligrams per cube
- how much water every finished glass should use
Yerba mate contains caffeine, but dividing a batch into cubes does not reveal the caffeine in each cube. That would require reliable information about the brewed batch and how evenly it was mixed, not just its volume or color.
For the finished drink, record cube count and added water separately using the size and dilution worksheet. Adding more water changes concentration and taste; it does not remove caffeine already present in the batch.
Keep one honest batch card
A useful frozen-mate batch card can stay simple:
1. Measure the brewed liquid.
2. Identify and measure the exact tray.
3. Calculate an estimated cavity count.
4. Fill the tray at the measured level.
5. Record full cavities, partial cavities, and leftover liquid.
6. Give the frozen batch a date and identifier.
That is enough to make the next freezer batch more predictable without inventing a standard the tray cannot support. For the broader process, use the DIY mate cube guide and the frozen yerba mate format explainer. Then join the waitlist and tell us whether a batch-yield field belongs on future Yerba Melt preparation directions.